There are some other tools present in the SDC toolkit alongside the screen designer. These are:
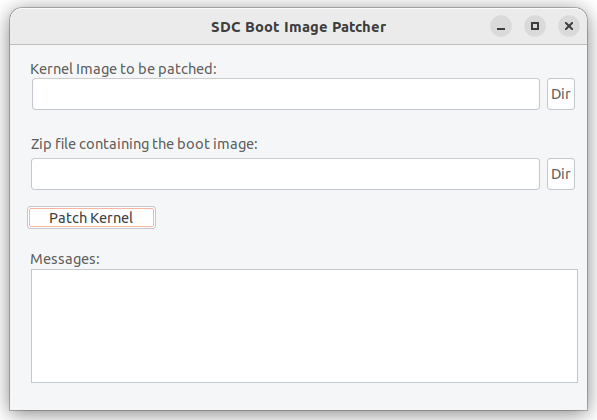
SDC Boot Image Patcher
The boot image patcher allows you to replace the default SDC boot image with one of your own. To do this it locates the image within the kernel binary and overwrites it with the one you supply. The image has the following limitations:
- It must be 800x480 pixels exactly.
- It must be a 32bit ARGB bitmap in .bmp format.
Although you can easily re-download SDC if you corrupt the kernel, take a copy of it first in case you’re not connected to the internet. You must choose the correct kernel for your device:
- For Zero and ZeroW choose ‘kernel.img’ in the kernel folder of your SD card. Note there is no kernel.img in versions after 1.50 as this device was deprecated in 1.41 and then dropped after 1.50.
- For Zero2W, Pi2 and Pi3, choose ‘kernel7.img’ in the kernel folder of your SD card.

Select the .bmp file you have created, and press the ‘patch’ button. The application will tell you if the file is too large for the available space in the kernel.
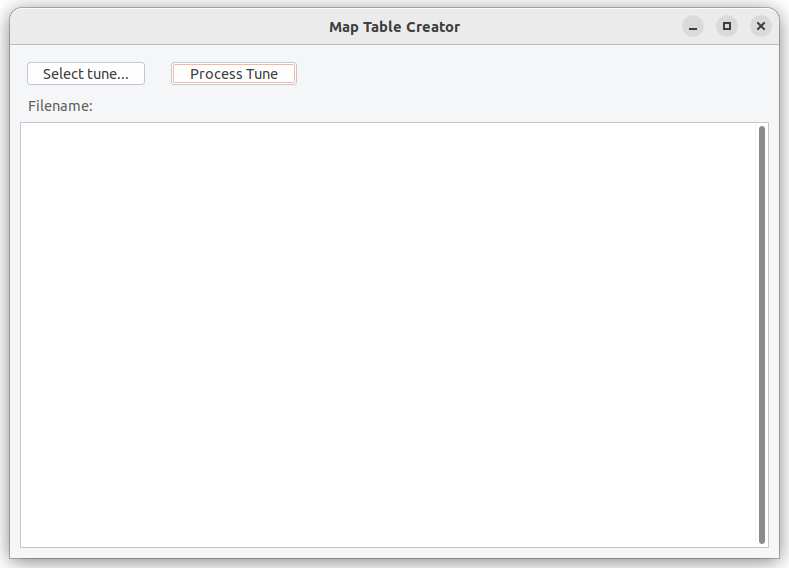
SDC Map Creator
The map creator is used if you want to be able to display a real-time view of the primary maps from your tune. It does not support fuel map 2 or advance map 2 at the moment (and neither does SDC).
Open your tune by navigating to the TunerStudio project and opening the ‘CurrentTune.msq’ file. Press ‘Process Tune’ and you should see a load of text appear in the window. The map creator will have written three files to your disk:
- fuelmap.bin
- sparkmap.bin
- afrmap.bin
If you are connected to your device over wifi, you can use the “Send Tune To Device” button to upload the files. You will need to reboot the device before the maps will be read. You will now be able to use the MapGauge and AxisGauge components.

Timezone chooser
Use this to set the timezone on your device from a list of valid zones. This is only really relevant if you have an RTC or a GPS receiver (both of which will set the time on the device in UTC).
Ini File Editor
This tool provides a means to edit the ini file on the device without removing the SD Card.
Create image vault
Use this once your page designs are complete or after making changes that involve adding new images. It recreates the image vault using the references found in the currently loaded XML. I recommend running this after rebooting the device to ensure everything is up to date before you start.
Strictly speaking you do not need to create an image vault at all; it is merely a means to shorten the boot time when you have a lot of referenced images. However, if you have one and make image changes, you must recreate it otherwise your image changes may not appear.
You can delete the image vault (thus reverting to loading all images directly from their source files) by deleting the file \media\vault\imagevault.zip from the sd card.